Five ways to ripening those garden tomatoes
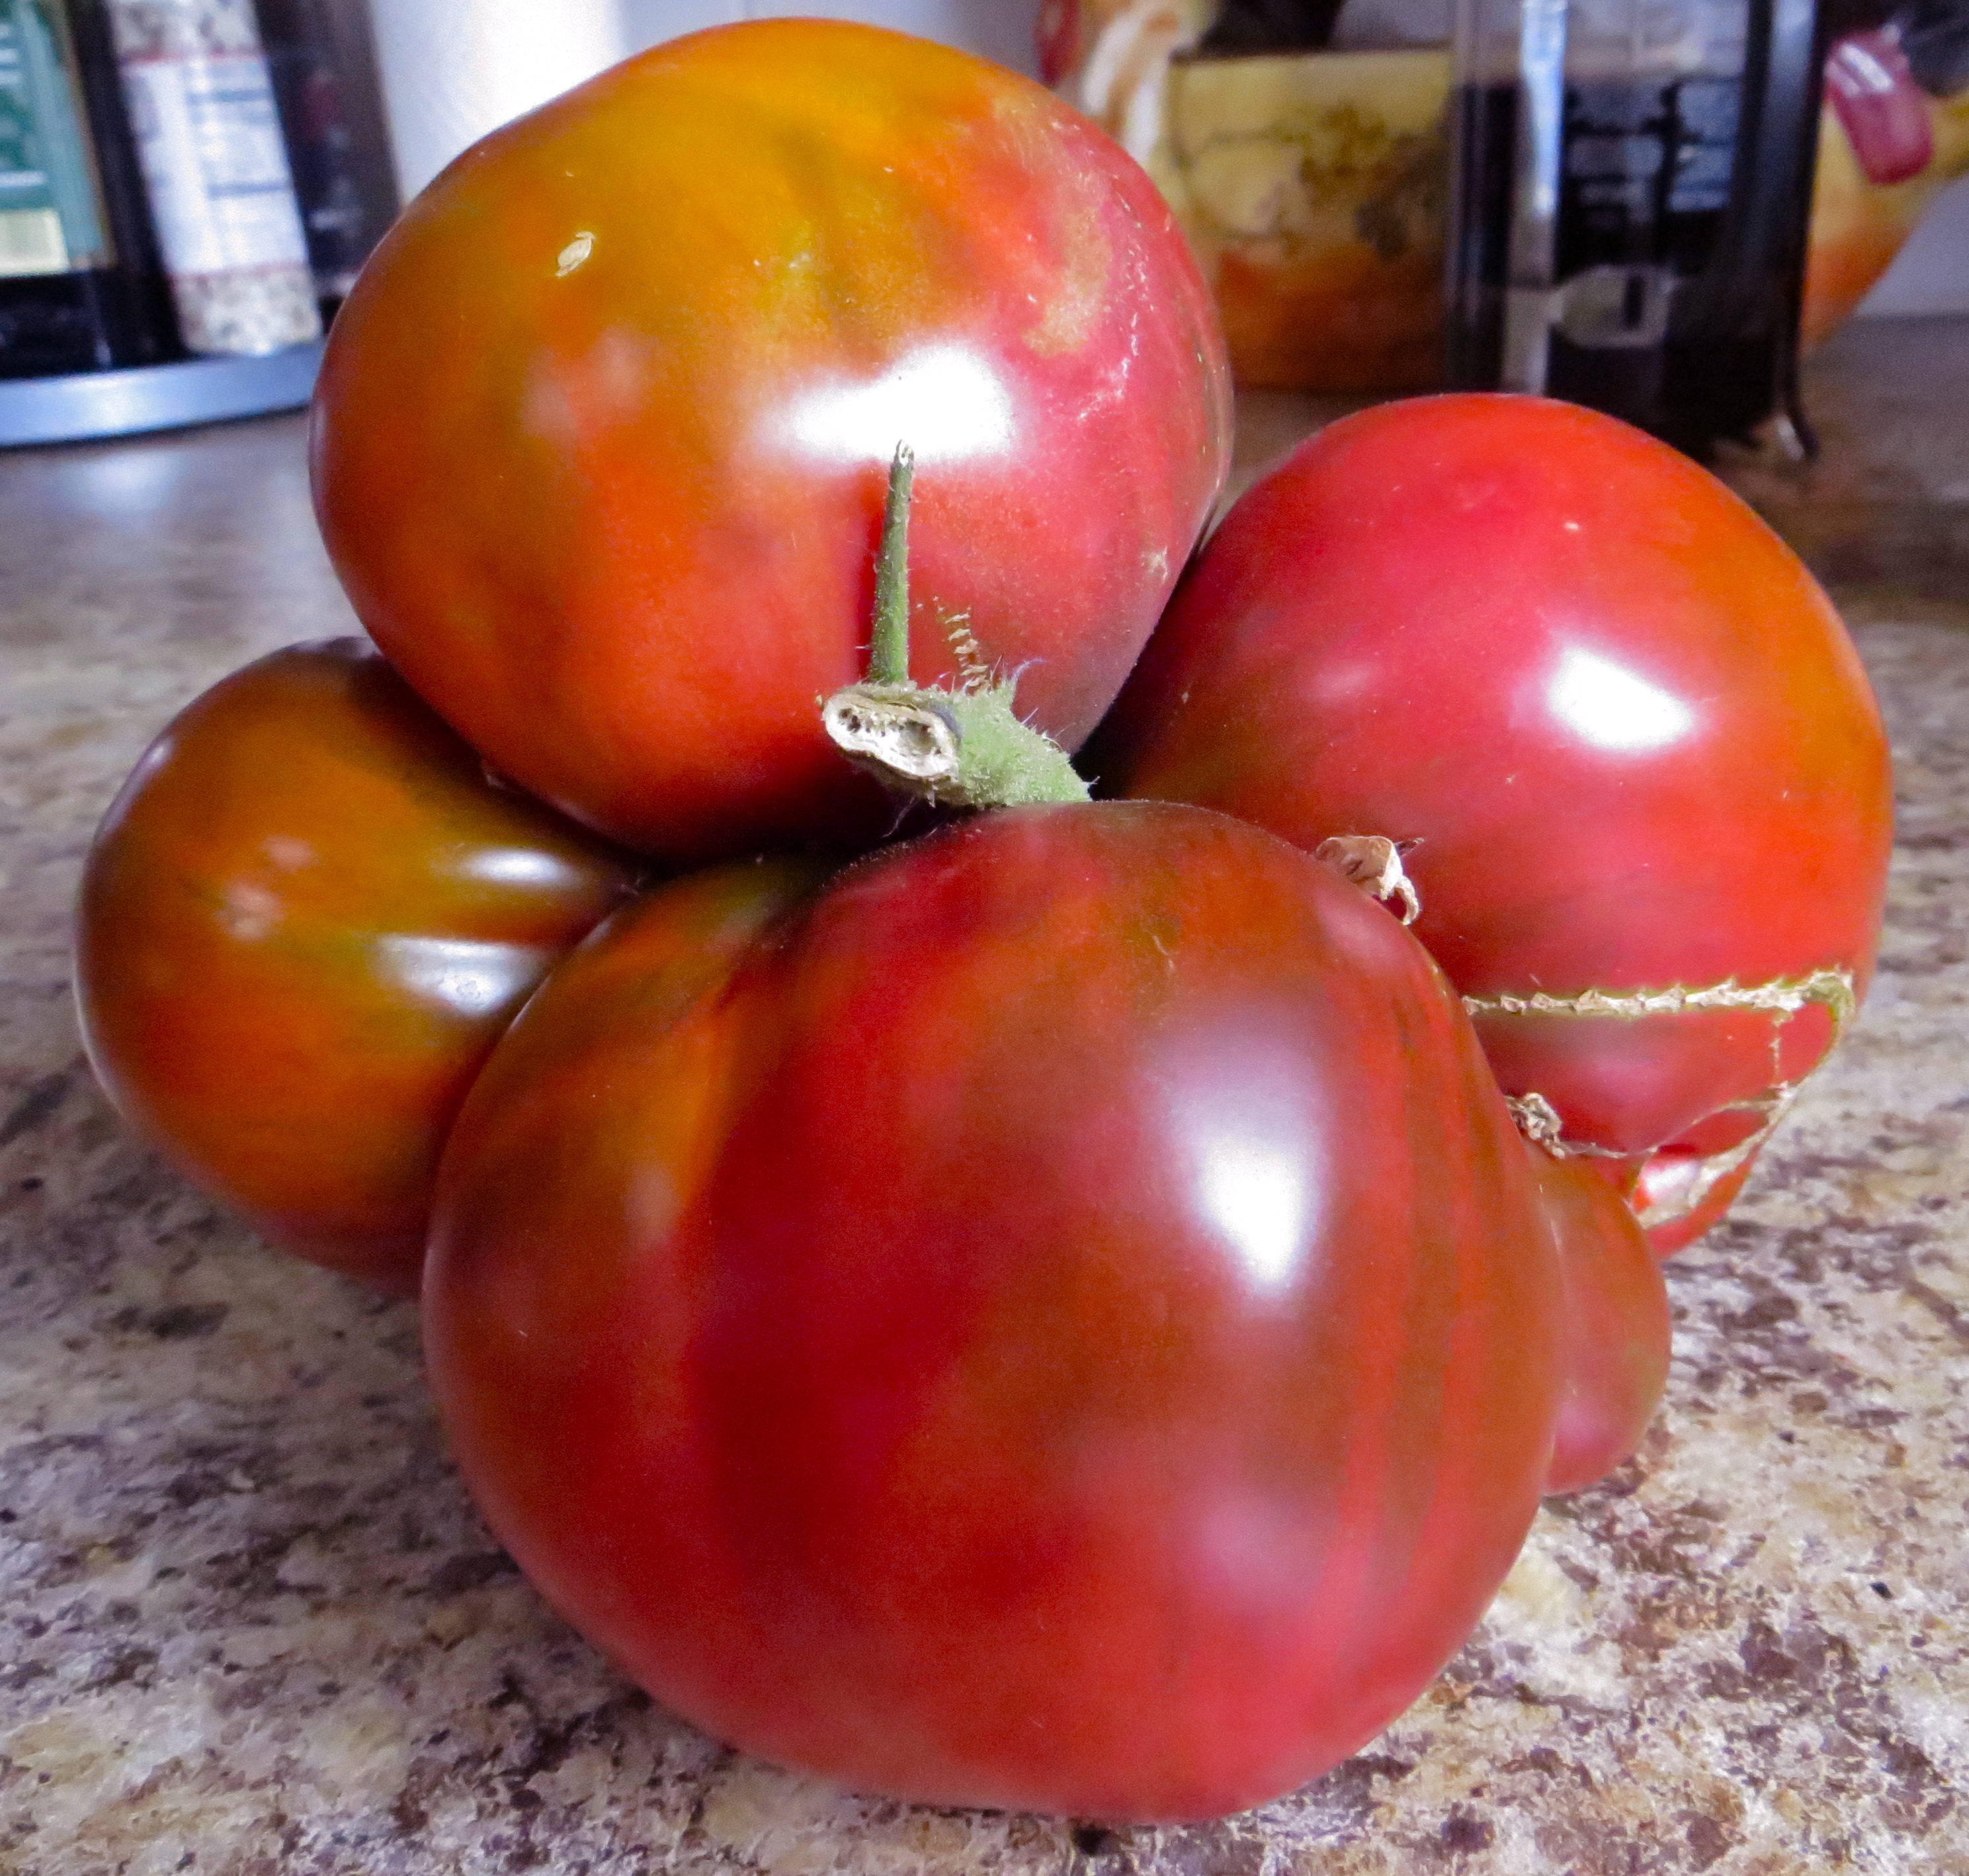
Ripen your tomatoes with these quick tips. Heirloom tomatoes like this may look deformed but have amazing flavor. Photo by Christine Willmsen
With shorter days and colder nights in the Pacific Northwest, it’s time to make sure your tomatoes get ripe so you can enjoy them in salads and in cooking. I planted my heirloom tomatoes from seeds and now I’m seeing all the amazing types of tomatoes grow and start to ripen. This reminds me of my childhood days, when almost every night we’d pull a red, juicy ripe tomato from the garden and serve it sliced with salt and pepper.
Here are five tips to guarantee tomatoes will taste amazing, and sooner than later:

Tear off small suckers, leaf starts, like these off the vine. Photo by Christine Willmsen
1. If you already have multiple green tomatoes growing on the vine, cut the top of the plant where new shoots and flowers are starting to form. This focuses the energy on the current fruit.
2. Remove suckers every couple days. These are the small leaves that start growing in between the main branches of the tomato plant. They will literally “suck” the plant’s energy and make it challenging for your fruit to ripen.
3. Go by feel. Don’t base a tomato’s ripeness by the color. There are so many varieties of tomatoes that aren’t your classic deep red. If the tomato is plump feeling and tender then remove it from the vine. Some of my tomatoes are yellow and ripe now.

Even though these tomatoes are yellow, they’re ripe. Base your ripeness on feel and when tender pull it. Photo by Christine Willmsen
4. With cold, wet nights approaching, you should thin the leaves and branches that aren’t critical to growing the fruit. This ensures that air can circulate between the leaves and fruit and it will help prevent late blight and mold.
5. If a tomato is too heavy for the plant like the one in the top photo, then harvest it and let it ripen on your counter or better yet in a shoe box in a cool, dark room.
Cheers
Christine


 An award-winning journalist with a passion for food. A writer and speaker who hopes to inspire everyone to take adventures with food. If I'm not cooking, I'm not happy.
